Updates
Software Updates - Single-Board Computers (Raspberry Pi)
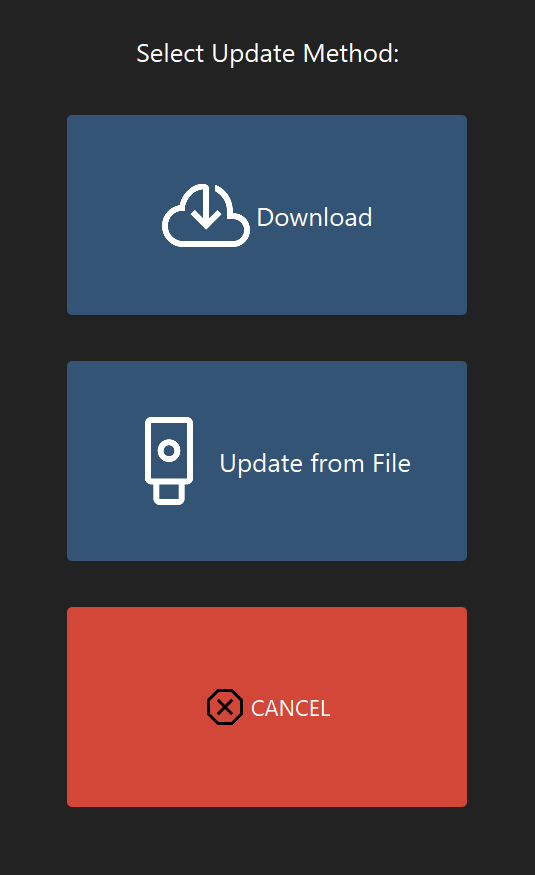
Access the update feature by expanding the drop down menu on the main tool bar and select UPDATE.
There are two methods for updating the RTS-X controller software on a single-board computer (such as the Raspberry Pi).
Download Updates
Select "Download" if your controller is connected to the internet via a wired or wireless connection. The software will automatically check for an update and inform you if one is available. The download and install process is automated.
Update via USB
Select "Update from File" to install an update from a USB drive.
The latest software can be downloaded from the RTCNC website.
Save the update file on to a USB drive and plug it into a USB port on the Raspberry Pi.
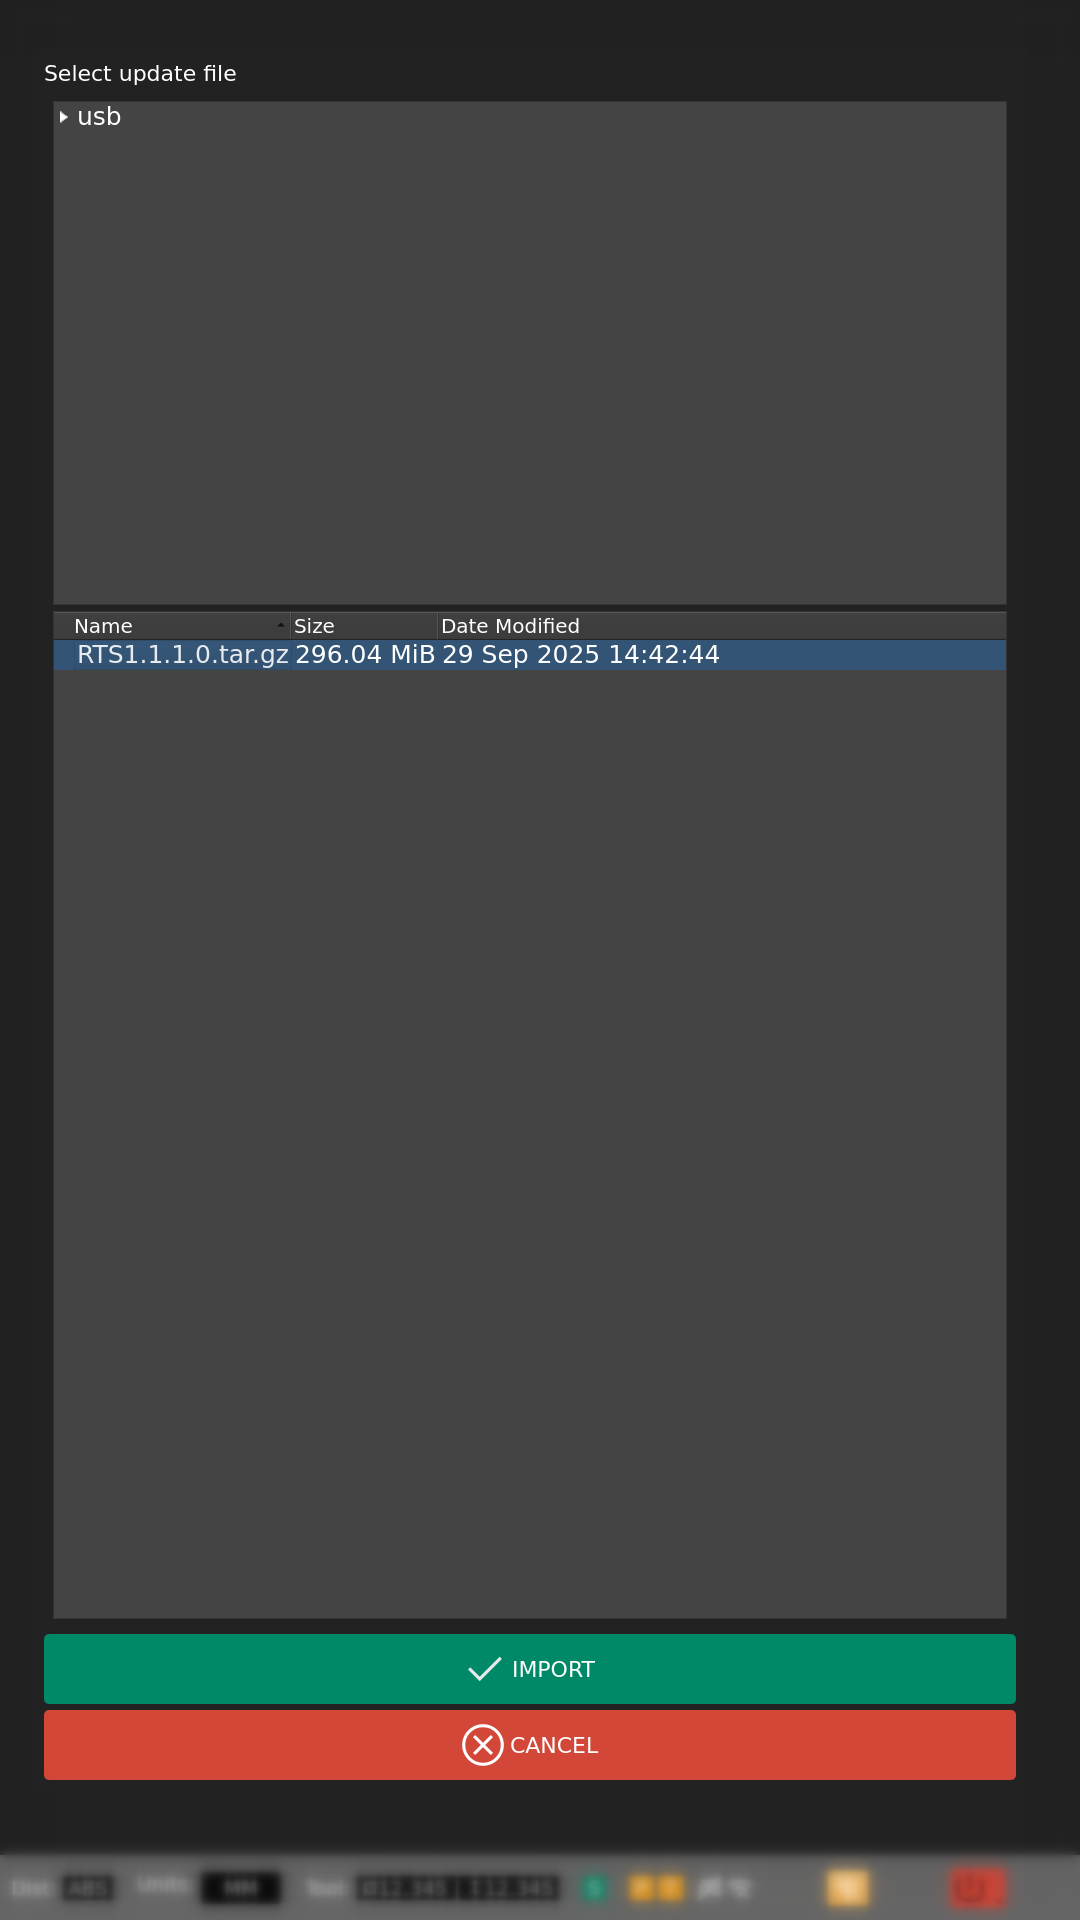
The update dialog will appear. Select the update package from the file browser (the selected file will be highlighted in blue) and click IMPORT to start the process.
Flashing SD Image
In some instances, it may be necessary to restore the operating system image for a RTCNC system running on a Raspberry Pi.
The latest image can be downloaded from the RTCNC website.
To flash the SD image you will need the following:
- A micro SD card with a minimum size of 32 GB. All data on the card will be lost when the image is flashed.
- A SD card reader (external or built-in)
- The Raspberry Pi Imager software available on the Raspberry Pi website
Once you have installed the Imager software, launch the application. You should see the main screen.

Click "CHOOSE DEVICE" and select "RASPBERRY PI 5".
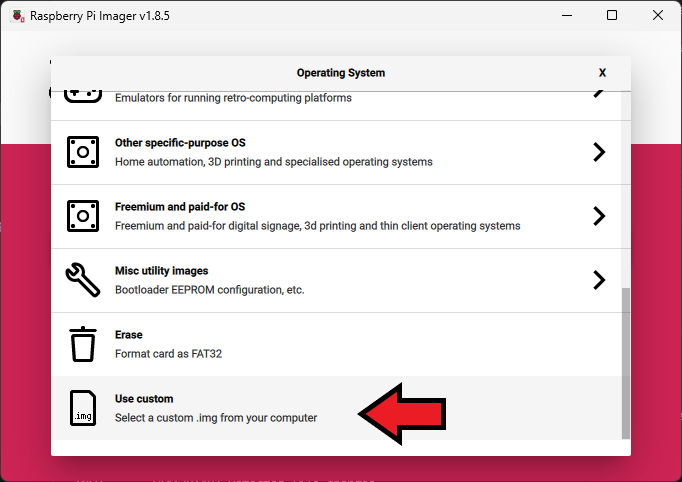
Click "CHOOSE OS" and select "Custom Operating System"
Connect the micro SD card to your computer using your SD card reader.
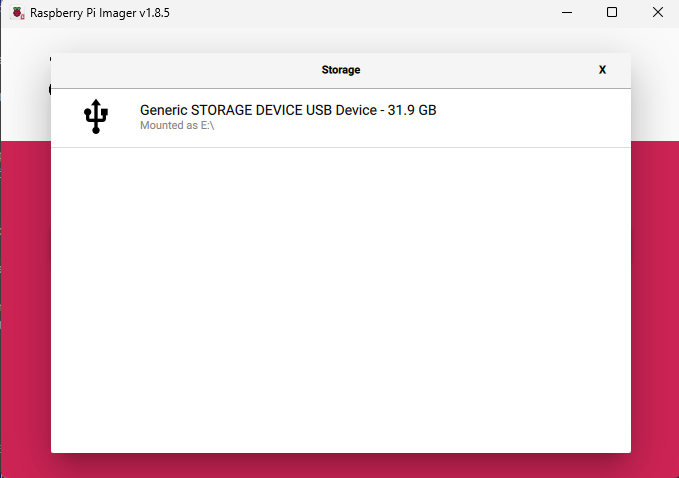
Click on CHOOSE STORAGE and select the storage device corresponding to your micro SD card.
WARNING: Choose the Correct Device
If you have more than one storage device connected to your computer, ensure that the correct device (micro SD card) is selected. Selecting the wrong device can lead to data loss on your computer.
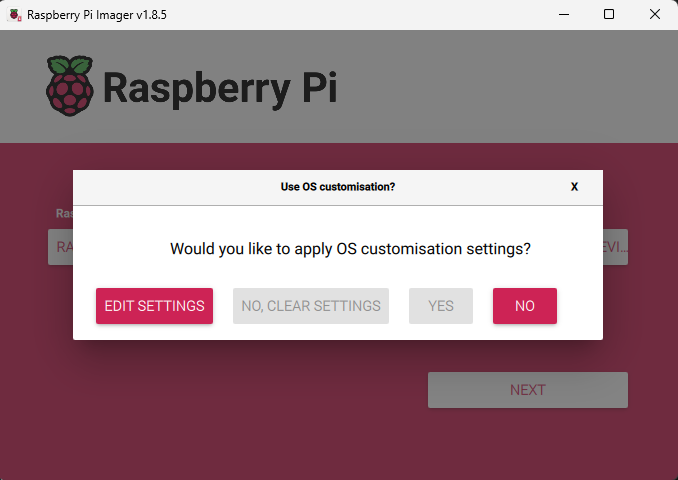
Click NO when prompted to apply OS customization settings.
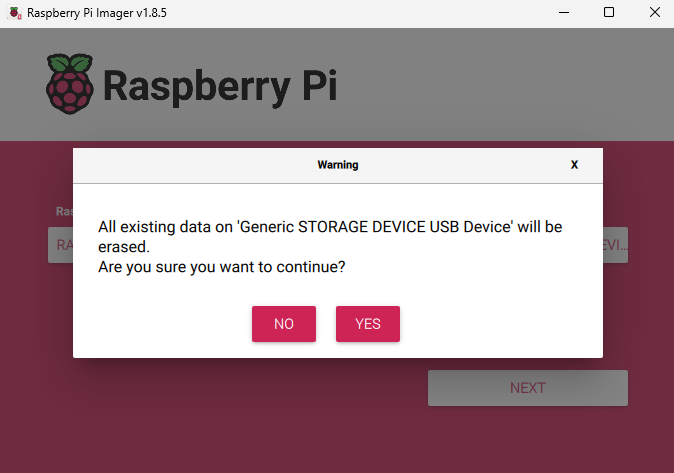
Click YES on the confirmation popup to start writing the image to the SD card.
It will take some time to write the image to the card.
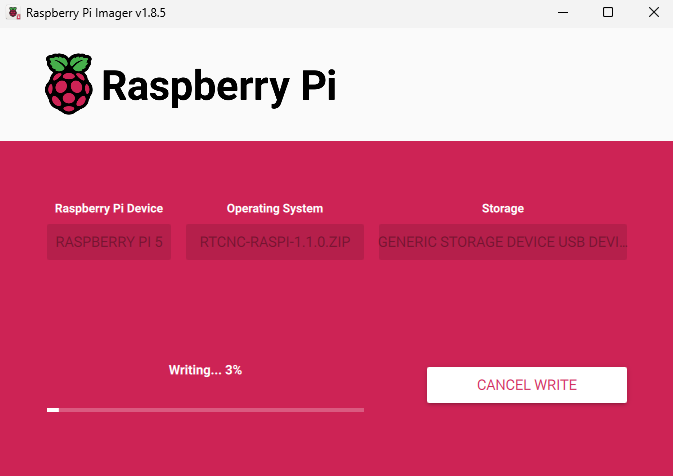
Once complete, you can remove the card from the reader and plug it into the Raspberry Pi. The Raspberry Pi may reboot several times when first powered up. This is a normal part of the installation process.